Workshop · WS-015
Open-spoke clothesline winder
Coil a removed household clothesline without a loose tangle.
Editorial construction draft. Original digital diagrams; no physical build or load certification. Read dimensions, fit and use limits before making changes. US customary dimensions control; metric values are references.
Before marking and cutting
- US inches; feet where appropriate. Metric values are rounded references. Written inch values control.
- 3/4 in means measured 0.750 in actual thickness wherever used. Recalculate mating lengths for other sheet thicknesses; do not substitute nominal stock blindly.
Use limits
- No line anchorage or load-bearing function; keep loose line away from children and animals.
Materials and cuts
| Part | Qty | Size to cut | Material |
|---|---|---|---|
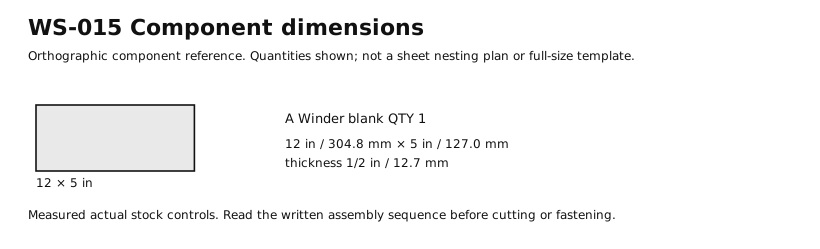
| A Winder blank | 1 | 12 × 5 × 1/2 in 304.8 × 127 × 12.7 mm | Sanded birch plywood with sound, void-free receiving edges. Measured actual thickness 1/2 in. |
Tools
- Rule with fractional inches
- Pencil or appropriate material marker
- Reliable square
- Saw suited to the specified stock
- Clamps
- Abrasive and dust-removal brush
- Drill with the specified bit and depth stop where needed
Assembly
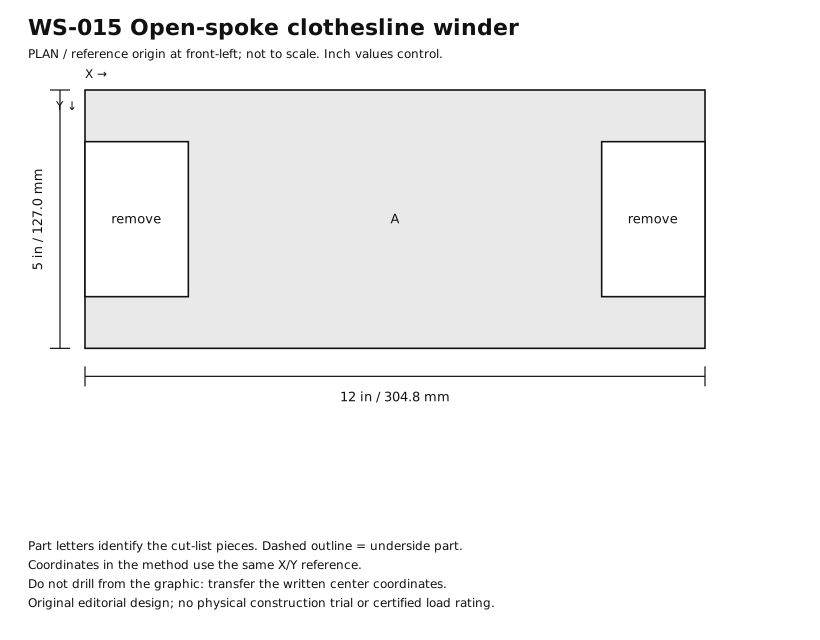
- Use this winder only to store a removed line. It is never a line anchor, tensioner or device for lifting anything.
- Cut A to 12 × 5 × 1/2 in from sound plywood. Mark X along its 12 in length.
- On each short end mark a centered 3 in wide mouth, leaving 1 in at each side of the 5 in width.
- Mark each U-shaped mouth 2 in deep, with 1/2 in radius inner corners; the solid central web remains 8 in long.
- Clamp A, drill starter holes within the waste and cut both mouths with a coping saw. Support the waste so it cannot tear the veneer.
- Round every cut edge and the four outer corners. Pull scrap cotton cloth over the edges to check for snags.
- At the center of one solid long edge cut a shallow V notch 1/8 in deep and 1/4 in wide to park the line end; round the bottom of the notch.
- Lay one line end in that notch, leaving no free loop. Wind the dry removed line around the two mouths with even hand tension only.
- Stop before the coil reaches the outside corners. Tuck the final 6 in end beneath one turn without tying a large loop.
- Label the line’s actual length and intended use on the central web; unwind fully for inspection before reinstalling it on suitable separate anchors.
Checks
- Two mouths are 3 in wide × 2 in deep with rounded corners.
- Remaining central web 8 in long, free from cracks.
- Line pays out by hand without snagging a sharp edge.
Cleaning and maintenance
- Dry line before winding.
- Inspect mouth roots for delamination each use.
Primary context
These sources inform the context and do not endorse the original construction design.