Workshop · WS-052
External cooler probe-cable parking clip
Park the loose exterior cable of a purchased cooler thermometer without drilling the cooler.
Editorial construction draft. Original digital diagrams; no physical build or load certification. Read dimensions, fit and use limits before making changes. US customary dimensions control; metric values are references.
Before marking and cutting
- US inches; feet where appropriate. Metric values are rounded references. Written inch values control.
- 3/4 in means measured 0.750 in actual thickness wherever used. Recalculate mating lengths for other sheet thicknesses; do not substitute nominal stock blindly.
Use limits
- Cable management only; no cold-holding, seal, food-safety or temperature-control guarantee.
Materials and cuts
| Part | Qty | Size to cut | Material |
|---|---|---|---|
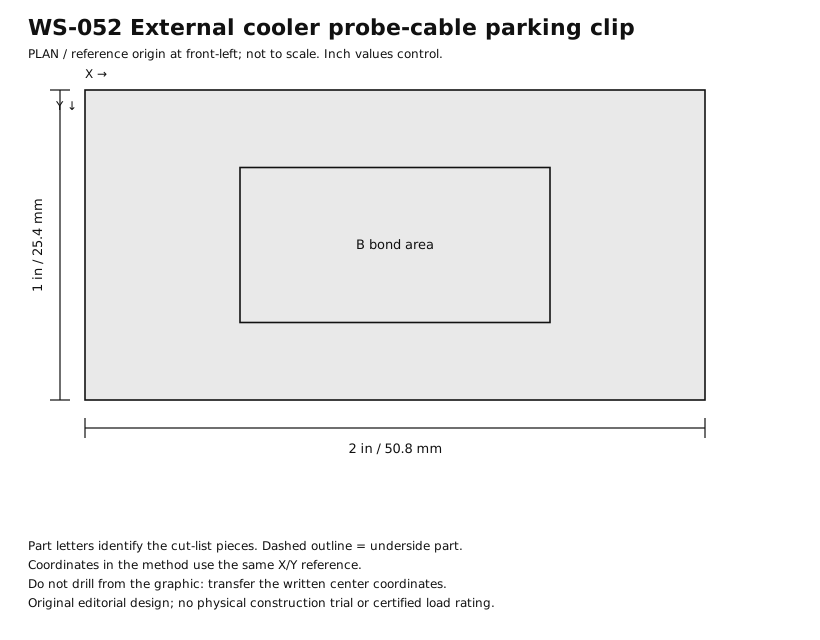
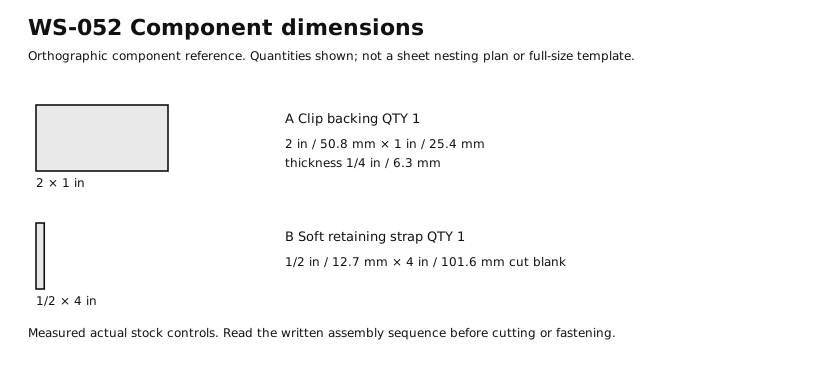
| A Clip backing | 1 | 2 × 1 × 1/4 in 50.8 × 25.4 × 6.35 mm | Sanded birch plywood with sound, void-free receiving edges. Measured actual thickness 1/4 in. |
| B Soft retaining strap | 1 | 1/2 × 4 in 12.7 × 101.6 mm | Paired reusable hook-and-loop tape. Cut blank before seams or fitting. |
Hardware and consumables
- 2 × Compatible removable mounting strips. One strap-to-A, one A-to-cooler; actual surface fit required.
Tools
- Rule with fractional inches
- Pencil or appropriate material marker
- Reliable square
- Saw suited to the specified stock
- Clamps
- Abrasive and dust-removal brush
- Drill with the specified bit and depth stop where needed
Assembly
- Use only a thermometer maker-approved probe route. Never drill a cooler, pinch a cable under a lid or assume the probe makes stored food safe.
- Cut A 2 × 1 × 1/4 in from smooth polymer or plywood for external dry use.
- Round corners to 1/4 in radius and smooth all cable-contact edges. Mark the center X = 1, Y = 1/2 in.
- Cut B 4 × 1/2 in from a reusable hook-and-loop strap. Leave enough loop circumference to hold the cable loosely, not compress it.
- Attach B’s middle 1 in section to A with compatible external-use adhesive tape, following the adhesive maker’s surface preparation and cure instructions.
- Attach A outside the cooler with a removable mounting strip selected for its actual surface. Do not cover a drain, handle, vent or label.
- Let the adhesive reach its labeled dwell time before putting any cable in the strap. Record the selected adhesive and probe route.
- Place only the exterior slack cable in B, leave a gentle bend radius specified by the instrument maker and close the strap loosely.
- Open the cooler fully and inspect the route. If the cable moves into a pinch or prevents the seal closing normally, remove it and follow a different maker-approved route.
- Read and log temperature through the instrument’s own instructions. Remove the clip before transport if it can catch on another object.
Checks
- No cooler wall or lid is drilled.
- Cable loop remains slack and outside pinch points.
- Lid closes normally with the approved probe route.
Cleaning and maintenance
- Inspect adhesive and cable sheath before use.
- Replace a damaged cable through the instrument maker.
Primary context
These sources inform the context and do not endorse the original construction design.