Workshop · WS-023
Fabric-backed removable window light shade
Make a removable light-blocking panel fitted inside one measured interior recess.
Editorial construction draft. Original digital diagrams; no physical build or load certification. Read dimensions, fit and use limits before making changes. US customary dimensions control; metric values are references.
Before marking and cutting
- US inches; feet where appropriate. Metric values are rounded references. Written inch values control.
- 3/4 in means measured 0.750 in actual thickness wherever used. Recalculate mating lengths for other sheet thicknesses; do not substitute nominal stock blindly.
Use limits
- Light shade only, not a storm shutter, security screen or insulating assembly.
Materials and cuts
| Part | Qty | Size to cut | Material |
|---|---|---|---|
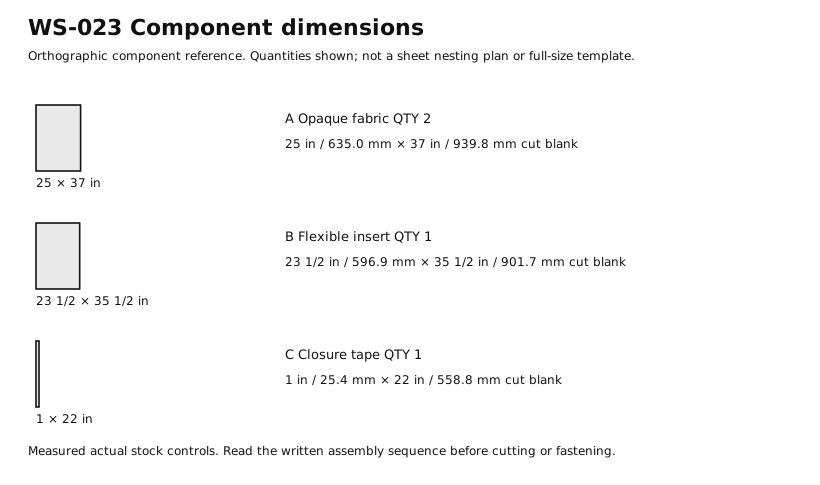
| A Opaque fabric | 2 | 25 × 37 in 635 × 939.8 mm | Opaque washable cotton. Cut blank before seams or fitting. |
| B Flexible insert | 1 | 23 1/2 × 35 1/2 in 596.9 × 901.7 mm | 1/16 in smooth polypropylene sheet; no heat/insulation rating. Cut blank before seams or fitting. |
| C Closure tape | 1 | 1 × 22 in 25.4 × 558.8 mm | Sew-on hook-and-loop tape, paired. Cut blank before seams or fitting. |
Hardware and consumables
- 1 × Thread. All seams.
- 1 × Paired sew-on hook-and-loop tape. 22 in long.
Tools
- Rule with fractional inches
- Pencil or appropriate material marker
- Scissors or cutter suited to the actual material
- Straightedge
- Sacrificial cutting backing
- Sewing needle or suitable sewing machine
- Scissors
- Pins; remove and count after sewing
Assembly
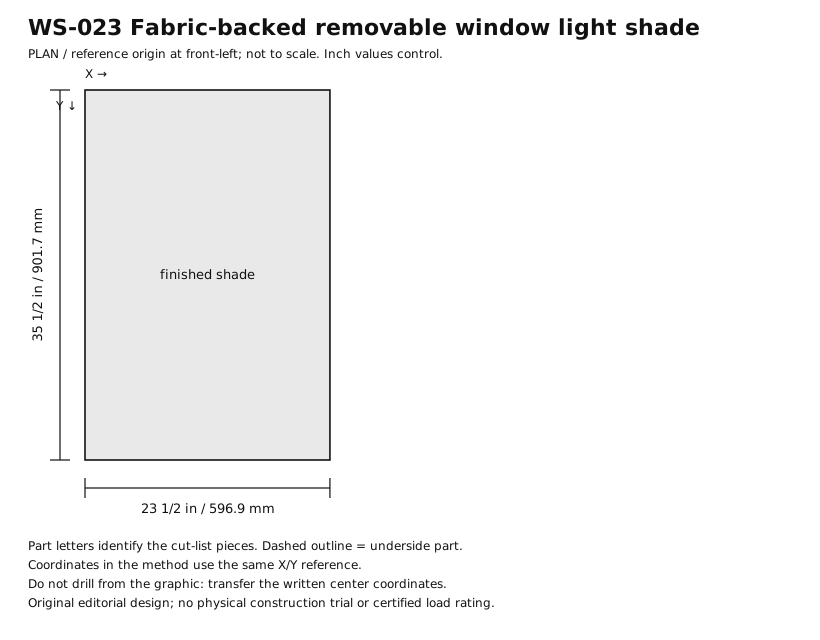
- Measure the clear recess, including handles. This example starts with a 24 × 36 in recess; the finished panel is 23 1/2 × 35 1/2 in for 1/4 in clearance on every side.
- Keep any emergency escape window operable and do not cover a required vent. No adhesive is applied to glazing.
- Cut A as two 25 × 37 in fabric panels; the parts quantity is two. Cut B to 23 1/2 × 35 1/2 in and round its corners to 1/2 in radius.
- Place the two A panels right sides together; sew side and bottom seams at 3/4 in, leaving the top open.
- Turn the shell right side out and check its inner dimensions against B without forcing. Trim only loose seam fibers.
- Turn both open top edges in 3/4 in. Sew mating 22 in hook-and-loop strips to these folds, centered with 3/4 in end clearances.
- Slide B into the shell and close the tape. The insert supports the panel without relying on loose pins or staples.
- Lean or place the shade inside the recess only if it stands securely by itself. Do not wedge tightly, tape it to glass or add suction cups without their maker’s instructions.
- Lift it away by its fabric edge, then open the window and latch it normally. If it falls or obstructs movement, use it only as a loose stored panel until redesigned.
- Label the panel REMOVE FOR WINDOW USE and inspect behind it for moisture after initial use.
Checks
- Two fabric panels each 25 × 37 in; 3/4 in seams give 23 1/2 × 35 1/2 in shell.
- Panel can be removed by hand immediately.
- No fire, heat or energy-saving claim appears on the label.
Cleaning and maintenance
- Remove insert before washing shell.
- Inspect window and panel for moisture; dry before storage.
Primary context
These sources inform the context and do not endorse the original construction design.