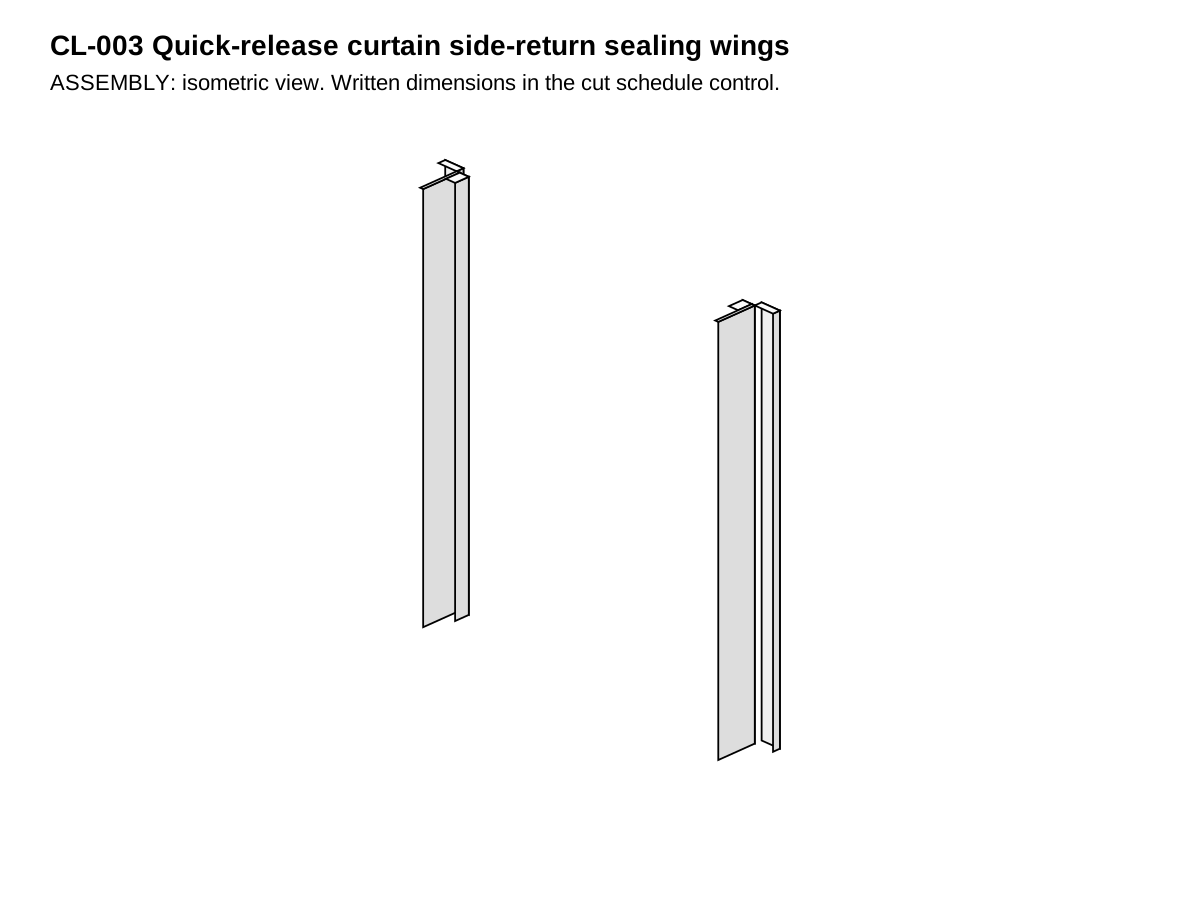
Make a pair of narrow hinged side panels that close the wall-to-curtain side gap but open by hand for curtain service.
Limits and intended use
Original household fixture, not a load-rated structure or occupied shelter.
No building energy rating, cooling capacity or prototype test is claimed.
Keep combustion appliances, flues, ventilation requirements and emergency exits unobstructed.
Not a sealed room divider, child-safety system, security shutter or appliance enclosure.
Materials and cuts
Part
Qty
Finished inches and millimeters
Material
P01 Wall strips
2
36 x 1 1/2 x 3/4 in 914.4 x 38.1 x 19.05 mm
sound untreated cedar or other durable untreated wood; no unknown salvage
P02 Side-return leaves
2
36 x 4 x 1/4 in 914.4 x 101.6 x 6.35 mm
smooth plywood for indoor dry fixtures only
P03 Hinge backing battens
2
36 x 1 1/2 x 3/4 in 914.4 x 38.1 x 19.05 mm
sound untreated cedar or other durable untreated wood; no unknown salvage
Hardware and purchased components
6 small continuous-hinge segments each 4 in long,3 per side, all pins retained
24 #6 x 1/2 in hinge screws,verify against actual hinge pattern
12 #6 x 3/4 in screws for plywood-to-batten joints
Two low-force magnetic catches and two fabric pull tabs 6 in long
Wall mounting screws and anchors selected for actual substrate
Tools
Tape measure and steel rule
Pencil, square and clamps
Saw suited to the stated stock; eye and hearing protection
Drill/driver, countersink and bits matched to fasteners
Sandpaper and edge file; gloves when handling cut mesh
Step-by-step assembly
Inspect sound stock and a stable work surface. In the drawings x runs left to right, y front to rear and z upward.
Measure actual stock before cutting; nominal board names are not finished cross sections. Match each part to its label and material in the cut schedule.
Mark each finished cut separately, leaving saw kerf outside the line. Label parts, target +/-1/16 in and ease all hand-contact edges.
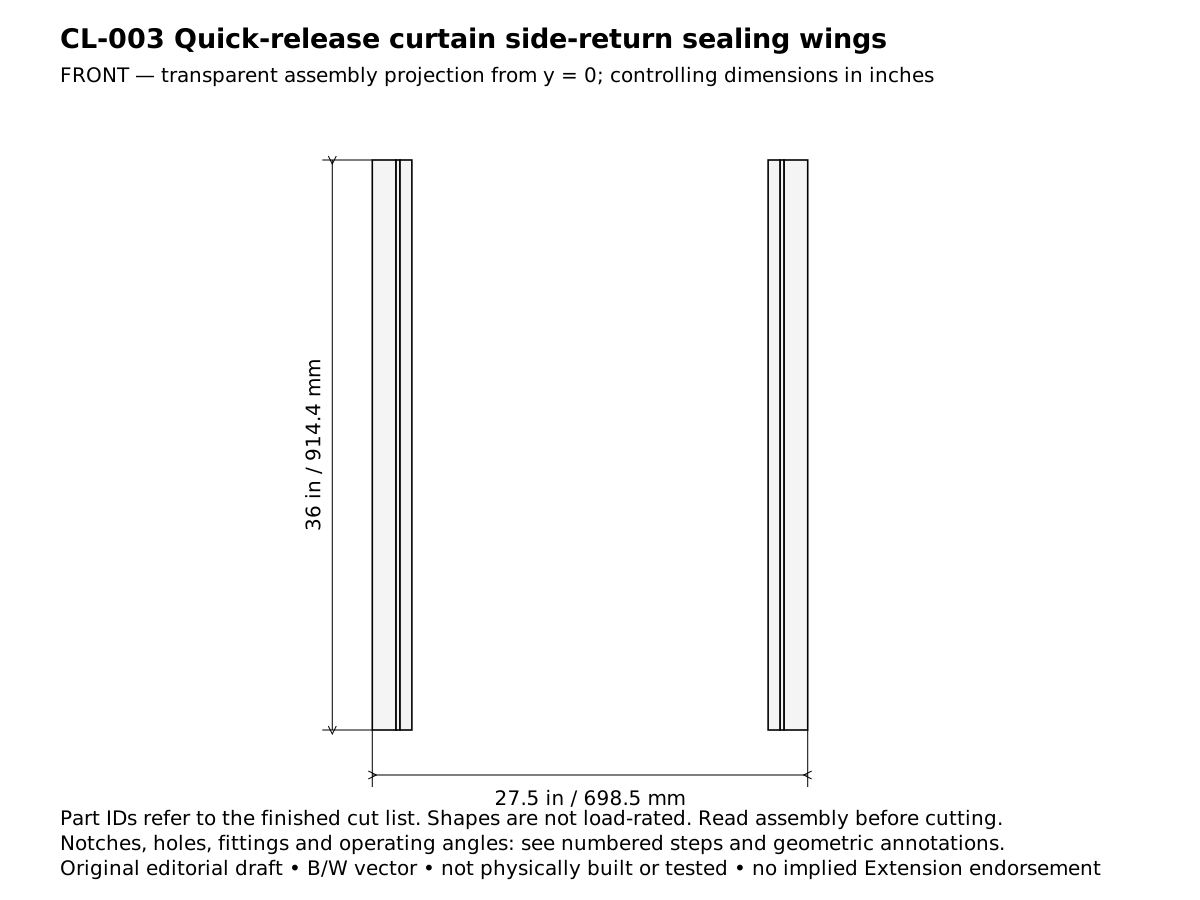
Plan one wing at each curtain side. The shown two-wing layout has 27-1/2 in total separation on the drawing for clarity, not a required window width. Each leaf is 36 in high and 4 in deep; the actual mounting location is chosen so the leaf softly meets the curtain edge without crushing it.
Place a 36 in backing batten along one vertical edge of each 1/4 in leaf. Predrill six holes through the plywood at heights 2,8,14,22,28 and 34 in, centered over the batten. Fasten with 3/4 in screws, leaving at least 1/4 in of wood above each screw point.
Fit three 4 in hinge segments along each reinforced edge, centered at heights 6,18 and 30 in. Keep the hinge pin outside the leaf edge so the panel can swing toward the room. Hinge leaves land on the wood batten, never on unsupported 1/4 in plywood alone.
Join each hinge to its 1-1/2 in wall strip with short screws selected from the actual hinge pattern. The listed 24 screw allowance assumes four per segment; change the purchase count if the chosen hinge has more holes. Recess no hardware into the flexible curtain fabric.
Mount both wall strips to verified sound wood or an appropriate substrate, at the measured curtain sides. Install at least three fixings per strip, with the actual anchor type and embedment recorded. Do not mount to a glazing bead or a window sash.
Set one low-force magnetic catch at the top of each wing to locate its normal closed position. Fasten the matching plate through the reinforced leaf edge. Put a 6 in folded pull tab under the plate screws, with a loop large enough for fingers but no long hanging cord.
Swing each wing closed until the plain outer leaf edge meets the curtain lightly. Sand a sharp corner and add a removable felt edge if necessary. Open and close the curtain; neither wing may capture or fray its fabric. A wing must release with one hand.
Check window access and any required escape path from inside. These wings are thermal side returns, not locks or security devices. Open them whenever they interfere with ventilation or the window; inspect behind the curtain for dampness during cold weather.
Complete the listed acceptance checks before use. Record changes to stock or fittings; retain this sheet with the finished assembly.
Acceptance checks
Two separate 36 x 4 in leaves (914.4 x 101.6 mm); three hinges per leaf.
All leaf screws enter backing battens; no exposed screw tips.
One-hand magnetic release and normal curtain/window operation remain possible.
Cleaning and maintenance
Wipe leaves dry, inspect hinges and catches monthly, remove felt that traps moisture.
Primary context
Primary references support context only. Design geometry, cut schedule, assembly and drawings are original editorial work, not certified or endorsed by the named agencies.